Kayak Building Class
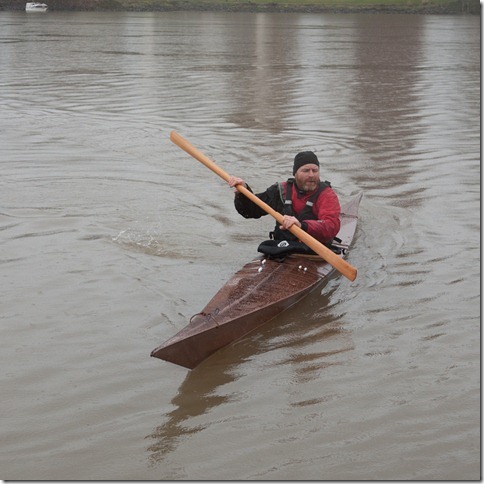
I spent the last week in Portland taking a kayak building class by Brian Schulz of Cape Falcon Kayaks. I took a pretty good number of photos during the class, and this very long blog entry (perhaps the longest that I’ve posted) will be a photo essay showing how we built the kayaks. Jump to the very end if you want to see a photo of my finished kayak.
I took the class with 2 other students, Steve and David. Brian was also building a kayak during the class for a customer in Portland. David, Brian, and I were all building F1 kayaks, a design that Brian came up with. Steve built a Greenland style kayak that Brian copied from historical drawings with some modifications to make it handle well with a larger paddler.
Here is a rough breakdown of how the class broke down:
- Day 1: Build the top of the frame
- Day 2: Build the bottom of the frame
- Day 3: Finish the frame
- Day 4: Skin the boat
- Day 5: Apply polyurethane to the skin and make a paddle.
- Day 6: Finishing touches (deck lines, foot pedals, back band, seat)
- Day 7: Paddle
Each day was about 8 hours, starting at 8am and finishing around 4pm or 5pm. The exception was Day 4 which was a 12 hour day, and Day 6 which was only about 3 hours. We had to wait to Day 7 to paddle to make sure that the polyurethane coating was dry before going on the water. I know that the class schedule has been tweaked over the years, so every class will be a little different.
Normally he teaches the class with 5 students,but ours was a little small due to a last minute cancellation.
I’m putting a lot of detail here,but it barely scratches the surface of what you learn taking the class. It is a great class if you enjoy working with your hands, enjoy kayaking, and aren’t normally a wood working type of person. I learned a lot and think I was far more successful than if I had tried this on my own.
Day 1
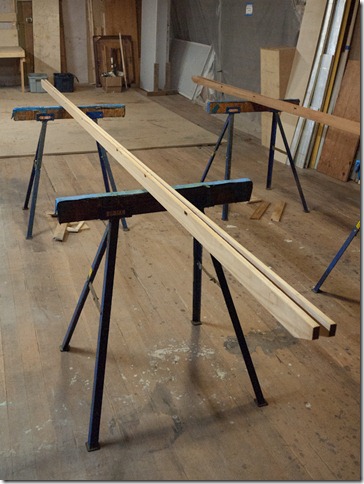
We started with the two gunwales. These were setup before the class and came to us cut to length and with the mortises already complete. They are made from cedar.
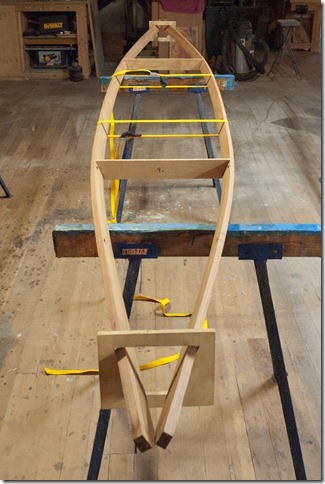
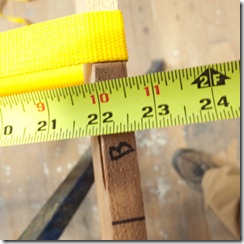
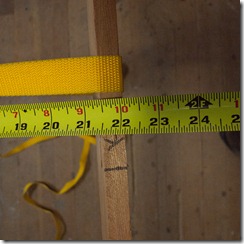
Using some simple jigs and cam-buckle straps we set the basic shape of the kayak. This is a critical setup and also set the beam (width) of the boat. We measured carefully at two points for the design. Brian scaled our boats at this stage to fit our weight and intended use. A kayak intended for a small woman was narrow, one that would only be used while camping was built a little wider. My boat was in the middle.
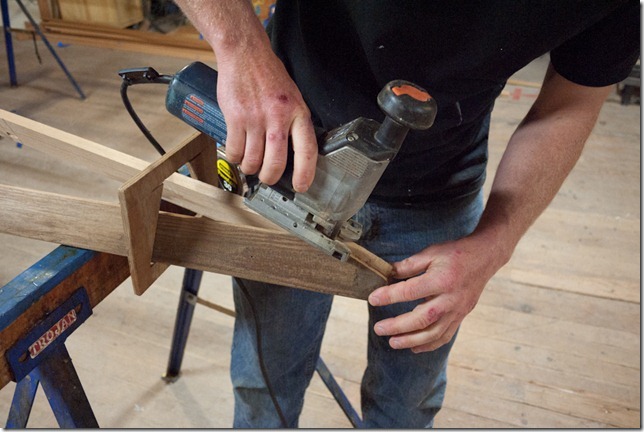
We needed to miter the ends of the gunwales to make them come together. We did this using a jigsaw and many passes with light tension at the end of the gunwales.
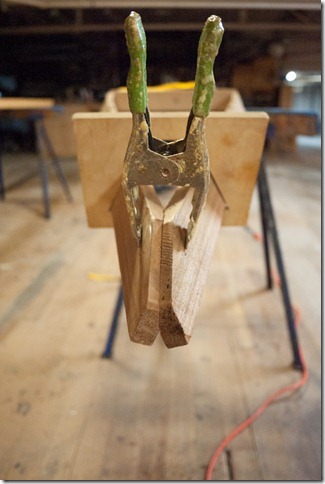
This is what the front of the gunwales looked like after mitering. The same thing was done on the rear.
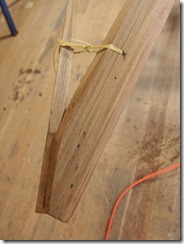
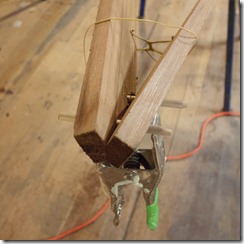
Our first of many lashings on the boat was used to tie the gunwales together. They don’t align perfectly, but that doesn’t matter because we’ll be doing more cleanup work in this area later. The joint was also pinned using two 1/4” diameter dowels.
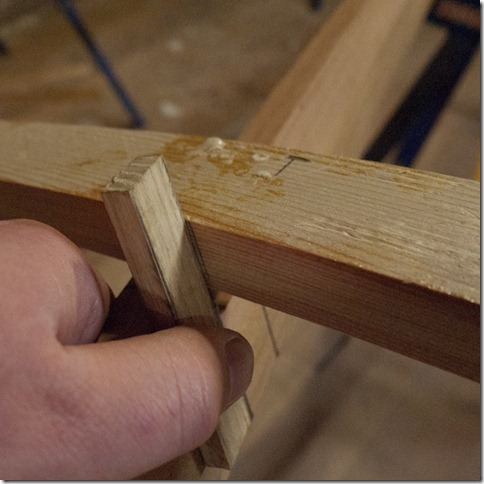
The next step was to mark and make the tenons on the deck beams. The deck beams are used to connect the two gunwales and will form the top of the boat. We used some scrap bamboo to transfer the width of the gunwales onto the deck beams. The deck beams were mostly made of cedar, but the one right behind the cockpit (which sometimes needs to support the paddlers weight) was heavier and stronger spruce.
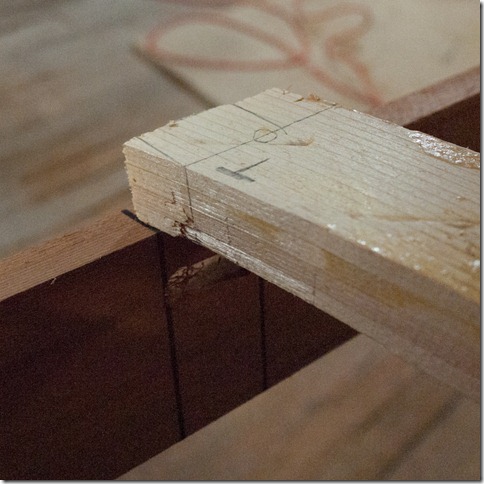
This shows a marked tenon, ready to cut. The pencil marks show what we’ll keep.
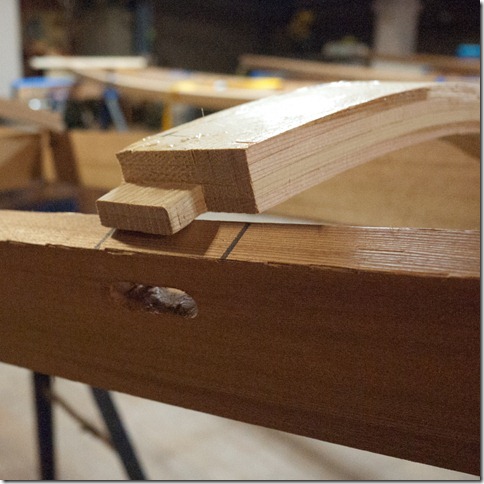
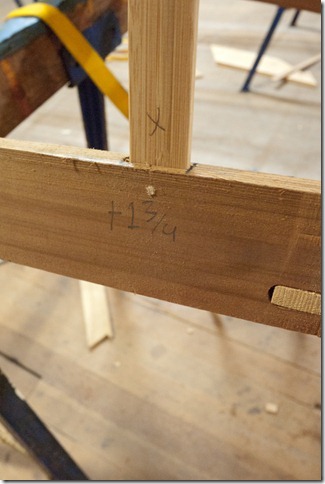
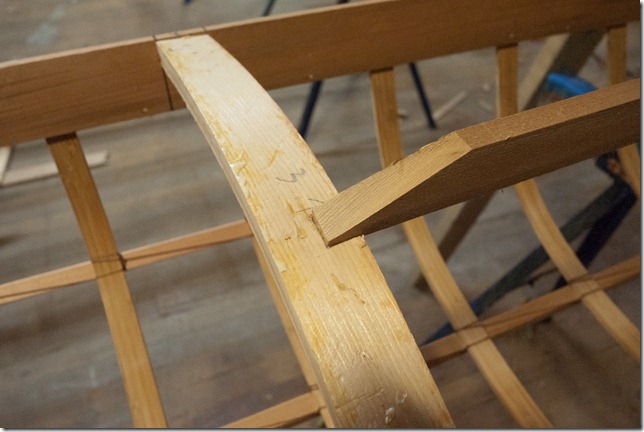
This is a completed tenon and the mortise that it will fit into. We cut the tenons using a Japanese saw and a chisel. It took a few tries to get a tight fit.
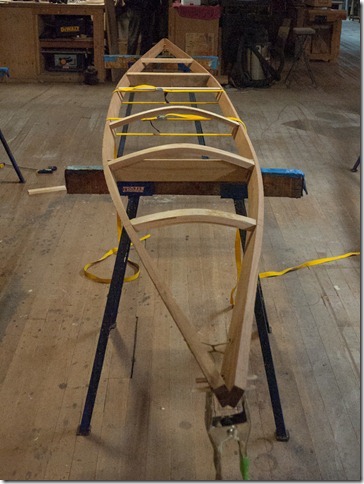
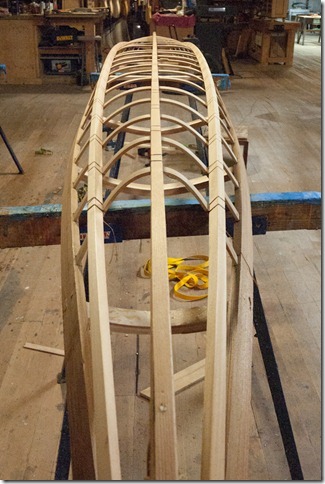
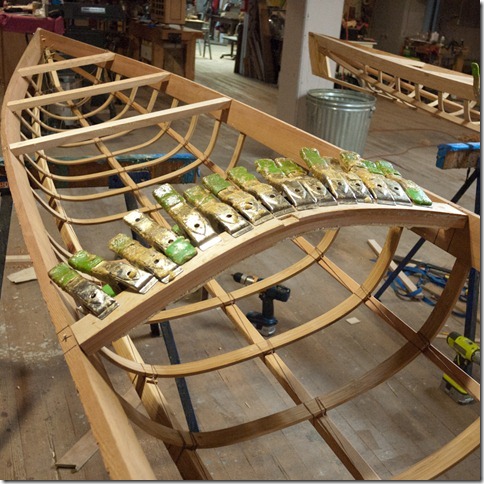
Here you can see all 6 of the deck beams on the boat. The front 3 ones are curved (they were laminated together by Brian before the class) and the three rear ones are flat. At this point the shape of the boat is set, so we were able to remove the jigs.
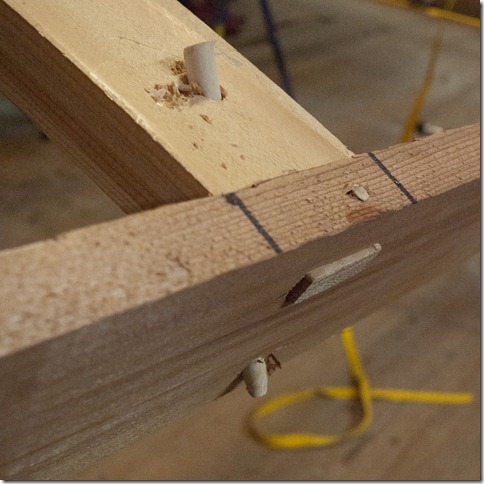
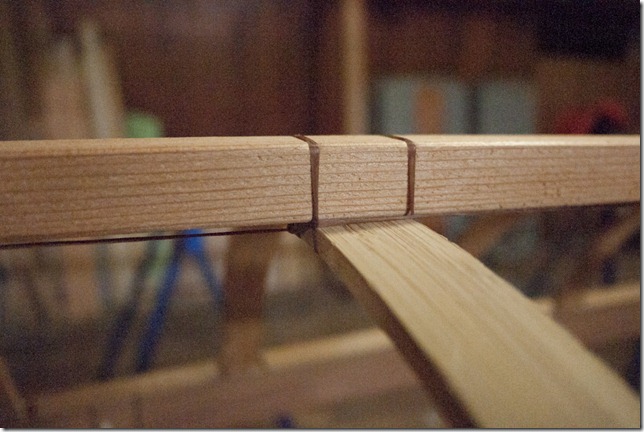
The tenons were pinned into place with 1/4” dowels at a diagonal, and a small 1/8” dowel through the top. No glue was necessary. All of the excess material was cleaned up later.
As our last job on day 1 we measured and cut the ribs that will form the bottom shape of the boat. Brian scaled the rib lengths on the F1 kayaks based on the intended boats use. In particular the small woman’s kayak used much shorter ribs to get reduced volume.
Day 2
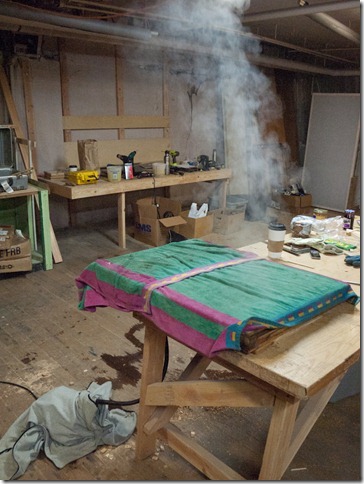
We started day 2 by steaming the ribs. We did this in a steam box that Brian had built, it was fed by a wall paper steamer. The steam box held 20 ribs, and the ribs needed 20 minutes each of steam to become pliable. This meant that we worked on a new rib every minute. Brian used laminated bamboo for the ribs. He used to use white oak, but says that good quality bending oak is getting very hard to find. An alternative would be to use ash.
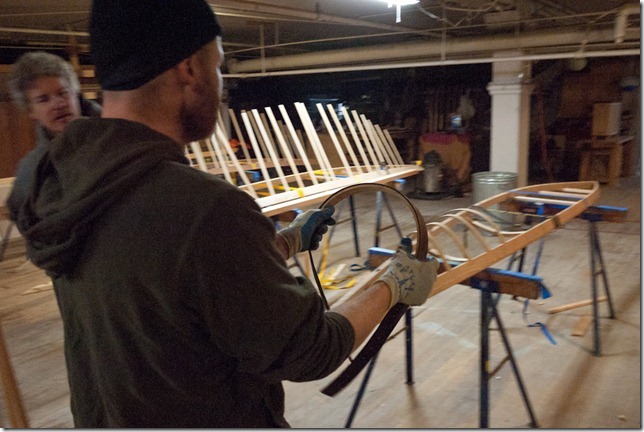
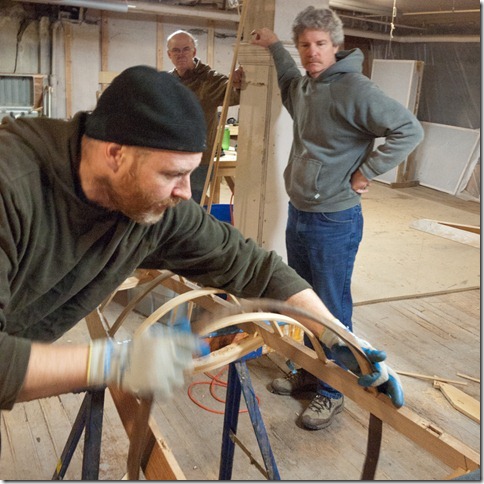
Here Brian demonstrates how we work the ribs. Each rib was pulled from the steam box and backed by a thick leather belt. The rib had to be worked immediately to make it plastic.
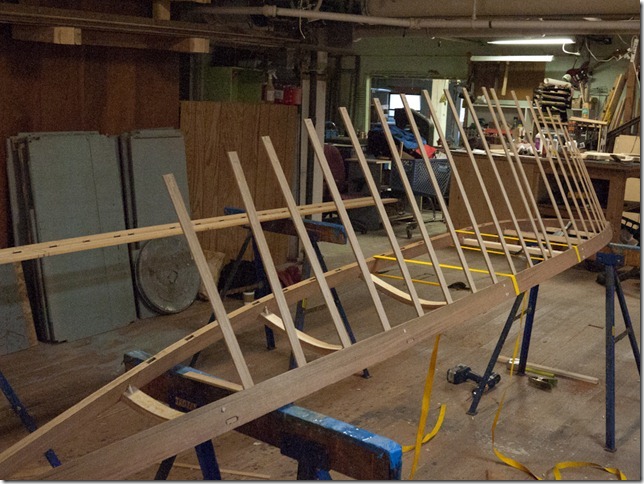
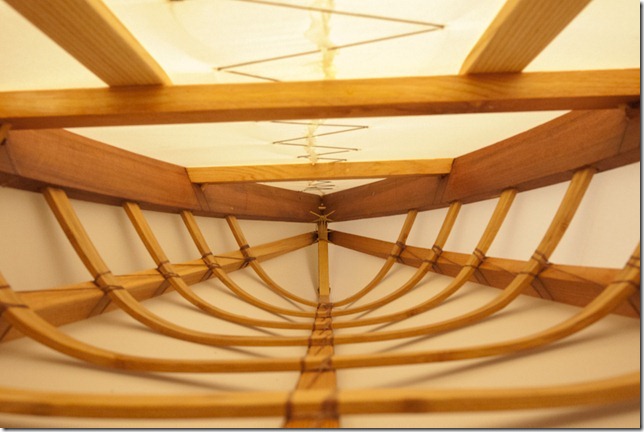
The ribs were then placed into the correct mortise on the gunwales. There could be some extensive bending of ribs to make them meet the desired bend. Not all of the ribs made it, we had to keep track of the broken ones and make new ones that would fit.
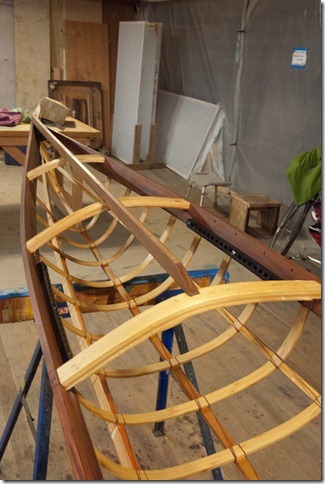
Here Brian is bending one of the last ribs in the boat. You can really see how the bottom is taking shape. The front few ribs are almost a V, then they are rounded over, and finally the rear ribs are squared off.
Getting the ribs right was probably one of the hardest parts of building the frame.
The next job was to tie a keel down to the center line of the ribs. The keel was lashed in place with artificial sinew. The knot above is called a box lash.
Some of the ribs were also pinned in place with 1/8” dowels.
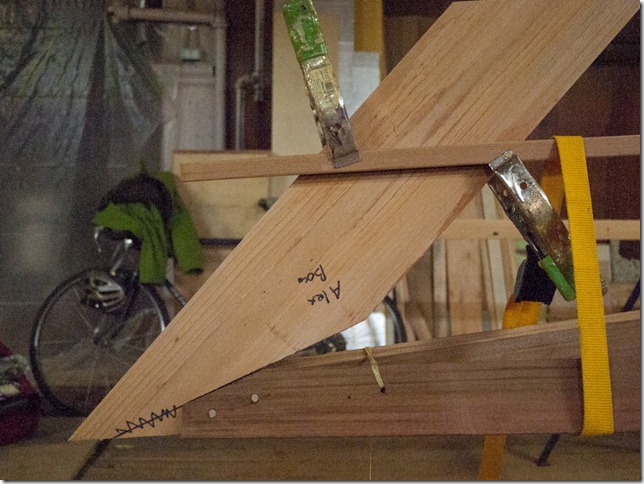
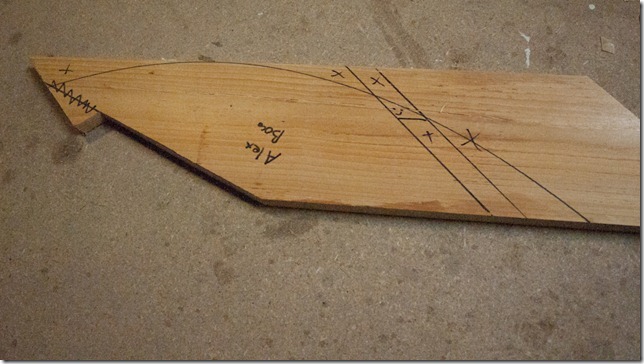
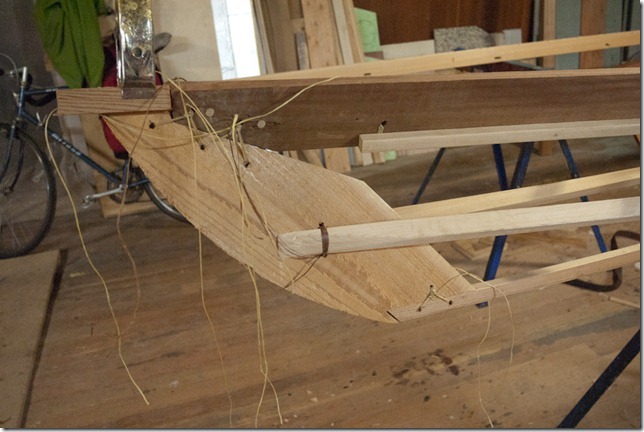
The next thing was to cut and install the bow and stern stems. These define the front and rear of the boat, and many parts of the frame tie into them. Here I am marking out the cuts that will need to be made.
We took the marked up stems to the bandsaw and cut them from the template above into the proper shape.
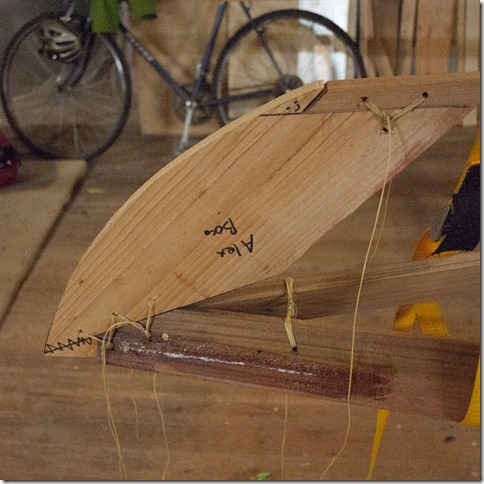
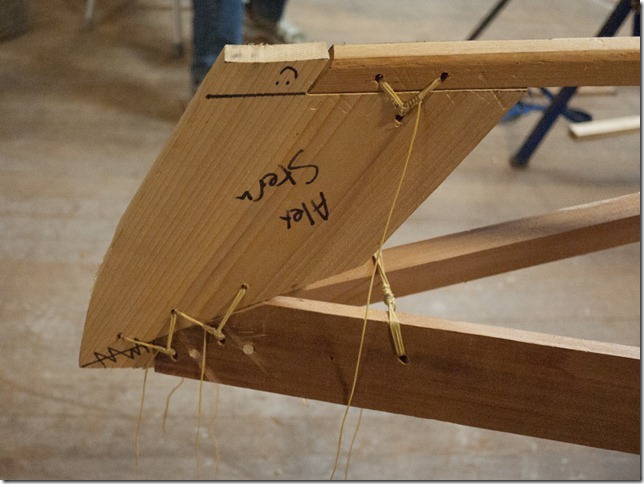
The stems were then lashed into the gunwales and the keel strip.
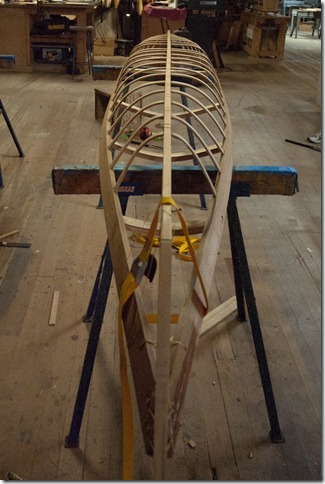
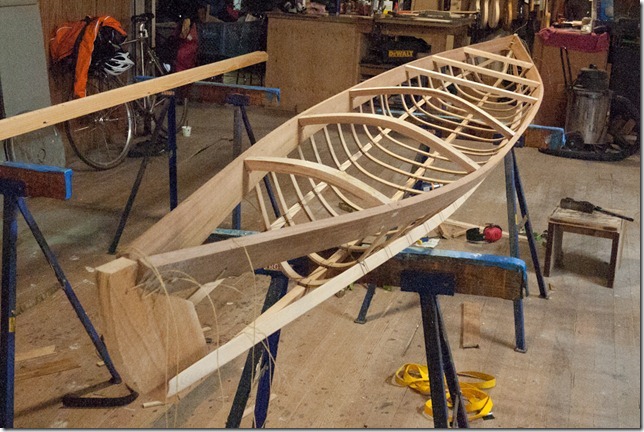
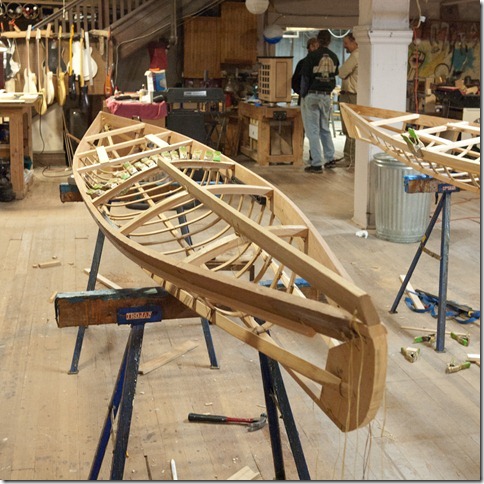
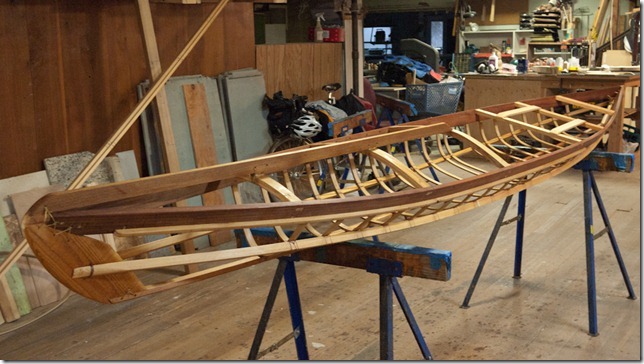
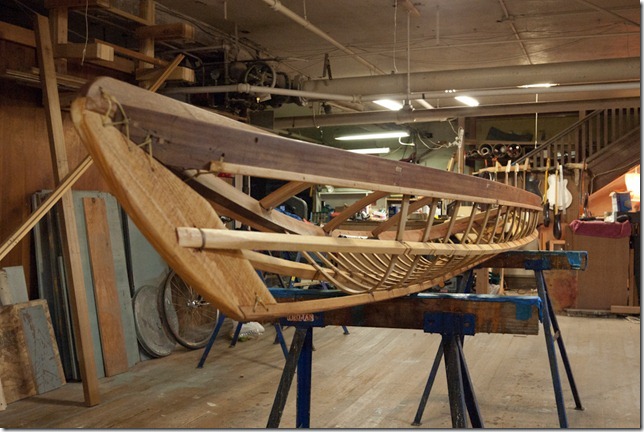
This is what the boat looked like with the front and rear stems and the keel in place.
After adding the keel we added in two chine strips. This formed the rest of the bottom of the boat. It was important that all three of these strips were well aligned to make sure that the boat would track straight.
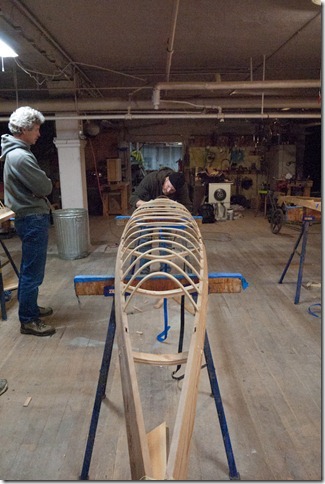
This is what the boat looked like with the top facing up. It looks like a boat, doesn’t it?
Day 3
The third day was about finishing up all of the frame work. I thought we were almost done on Day 2, but there were a lot of bits to add on to build the boat’s shape.
The first thing was to tie the chine stringers into the front and rear stems. The number of lashings is really adding up!
We had to chisel out a small area for the top deck beam to sit in.
That is the back of the beam that defines the top edge of the boat.
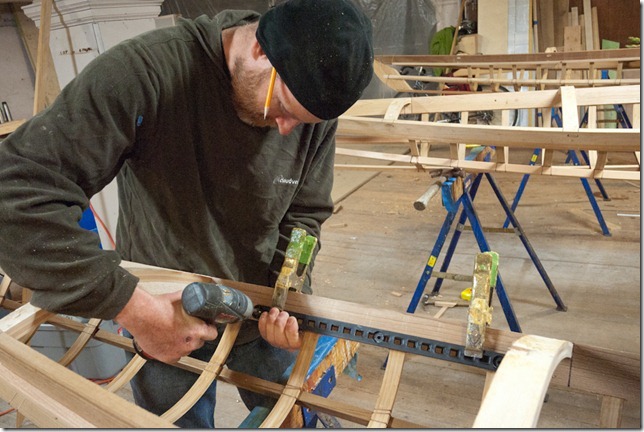
Before putting that beam in we installed the tracks for the foot pedals. With 4 screws per pedal track they won’t be going anywhere.
On my boat and David’s boat we also added an extra lamination to the deck beam that will be right in front of the cockpit. Brian said that this isn’t necessary, but it gave me a little piece of mind for very little actual weight.
The bow deck beam was lashed into place. We also added two stern deck beams that go just behind the cockpit. They can support your weight when getting into the boat.
We finished the day by sanding the boat, cleaning up all protrusions, and then oiling the boat.
The oil that we used (Watco) really made the colors on the wood on my boat pop.
Day 4
On Day 4 we moved from building the frame to covering it with cloth. This was the longest day of class, we started at 7am and I don’t think that I got back to my friend’s house until 8 or 8:30pm.
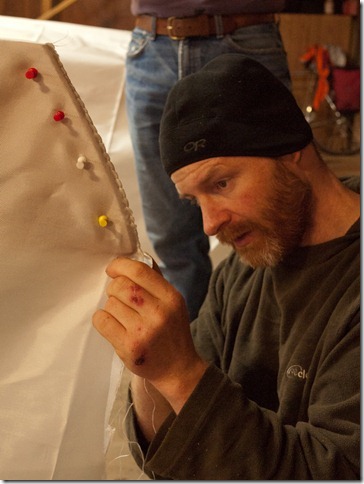
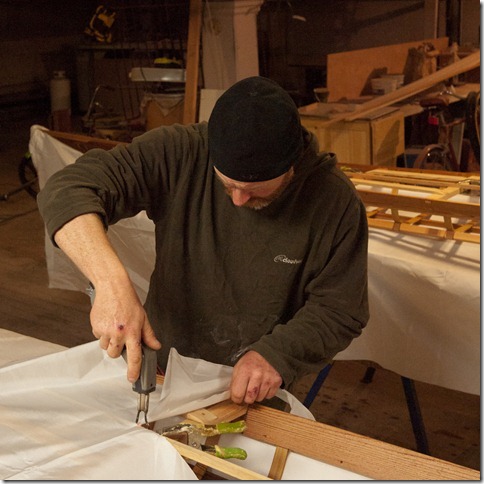
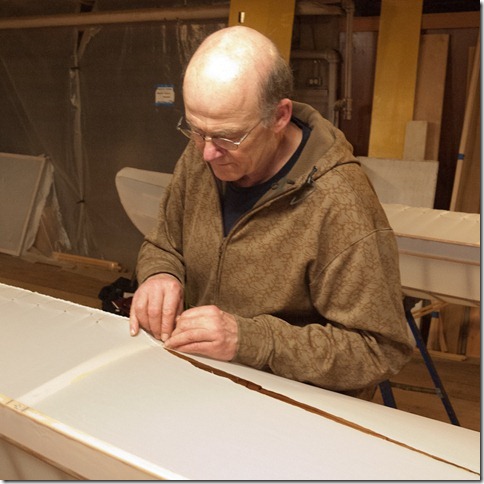
The first job was to cover the boat in nylon, then sew down the stern and 1” along the top of the boat. That is Brian, our instructor, giving us a hand’s on lesson. In general he taught by showing us what to do on the boat that he was building, then letting us work on our own boats. The class all moved together in sync, rather than letting one person get far ahead or behind.
The skin was shifted about 3” forward, then we did the same thing on the bow.
Then the whole skin was hooked over the rear of the boat, pulling it tight.
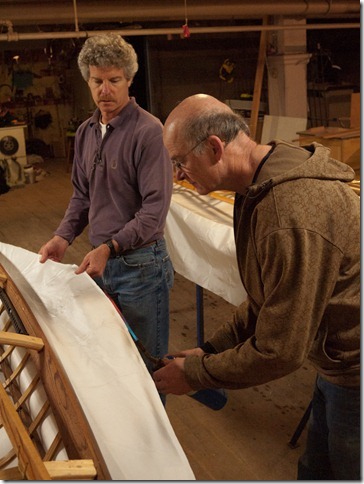
We clamped on some temporary centerlines and Brian used them as guides to cut the nylon skin.
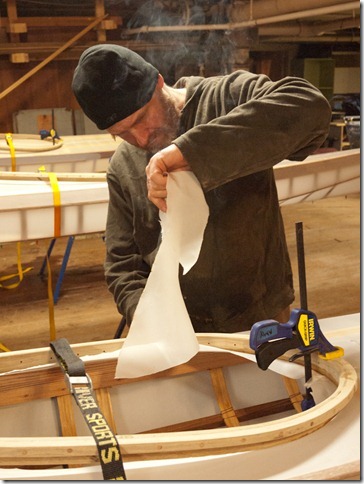
Steve and David followed behind with a torch and seared the edges, making sure that they didn’t unravel.
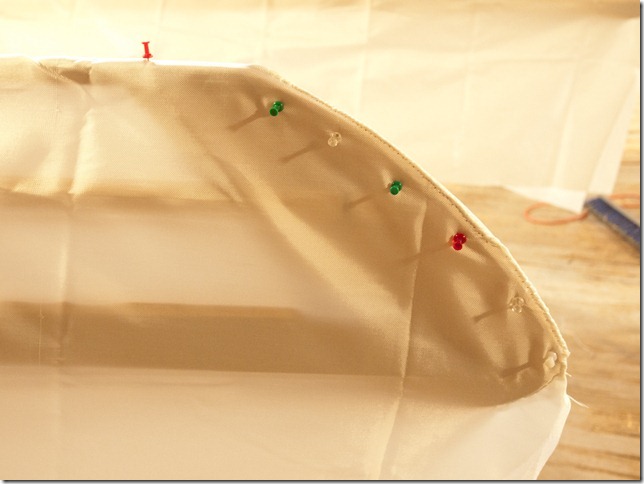
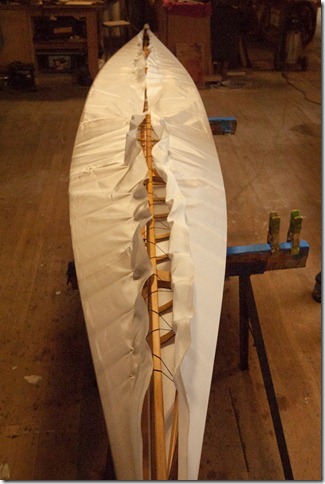
We used heavy black thread to tension the fabric along the front and rear of the boat. With multiple passes of pulling on the black thread we were able to tension the skin around the frame.
You can see how the fabric is tightly pulled against the framework of the boat.
We followed behind and sewed the remaining skin closed with white thread (actually dental floss). This took a very long time, the seams on our boats are about 12’ long!
We located the coamings on the boat (Brian had made these previously at his workshop) and cut out the remaining fabric with a hot knife. I don’t have any photos of sewing the coaming, but it was done with the same heavy black thread that was used for tensioning the skin. We drilled about 50 holes around the edge of the coaming for the thread to go through.
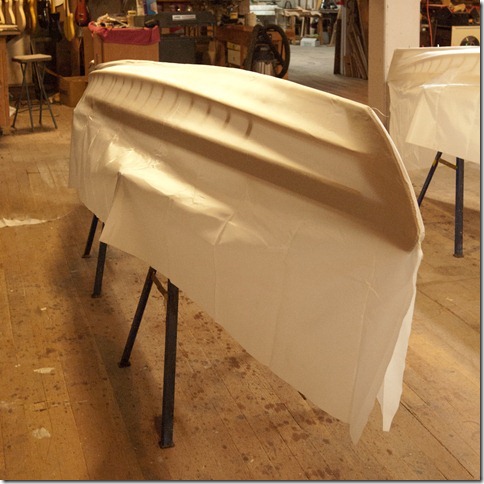
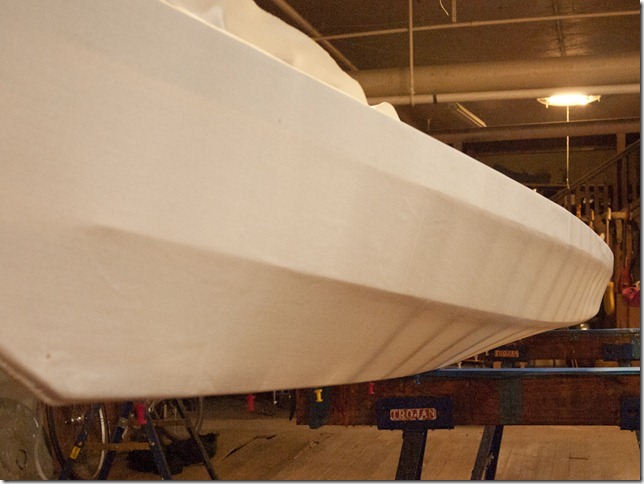
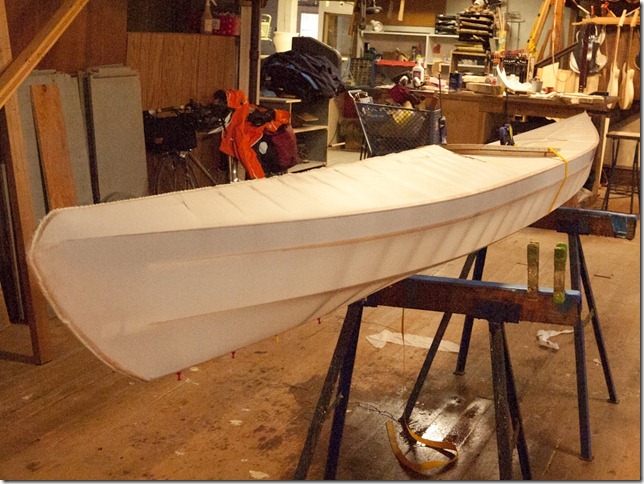
The boat is sewn up!
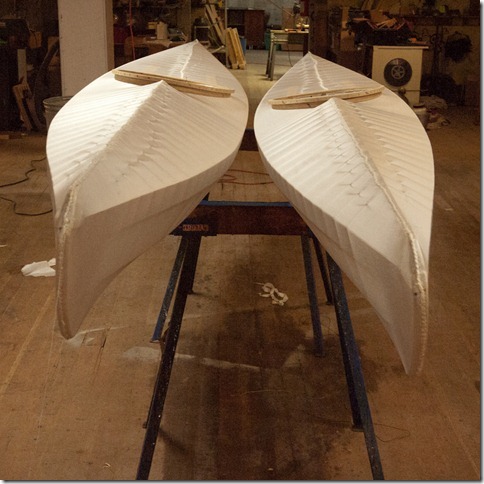
Here you can see how a small F1 and a large F1 compare. The basic shape is very similar, but the one on the right has a lot less volume.
This is the inside of the stern of my boat and shows how the skin fits tightly around the boat’s framework.
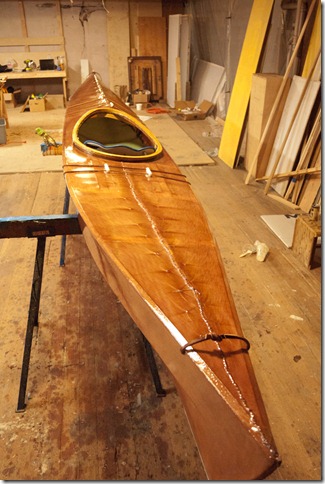
We finished out the day by staining the fabric with a brown dye, working from the bottom to the top.
Day 5
On Day 5 we had to coat the fabric to make it waterproof. We used a 2-part polyurethane designed for this that is made by Spirit Line and sold by skinboats.com.
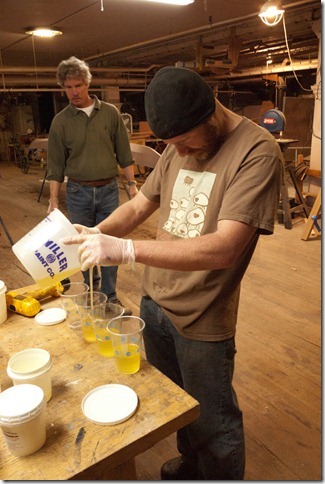
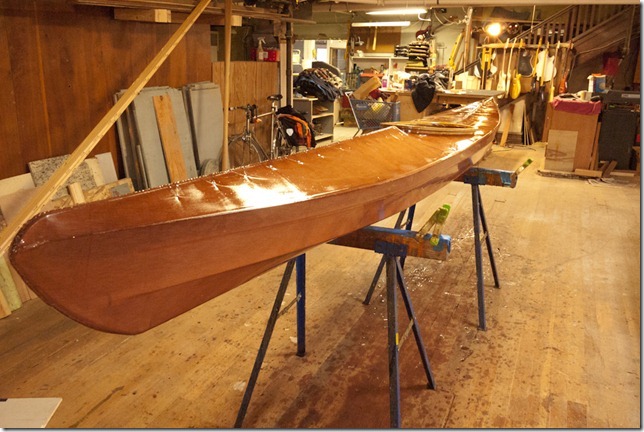
Brian mixed up the poly (aka goop) for us. I don’t have any photos of the goop application process (my hands were covered in it), but this is what it looked like when we were done:
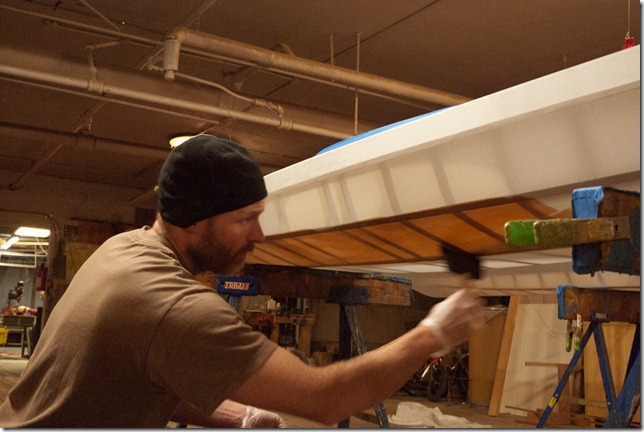
The goop was applied with a wide spreader and worked into the cloth in two coats. We had to keep working it into the fabric and keeping an even application for about 45 minutes per coat. We did the bottom of the boat first (with the top edged masked off), then turned the boat over and did the top. The whole process took over 3 hours.
We used the other half of the day to make kayak paddles. I will post a different (and shorter) photo essay on that process later.
Day 6
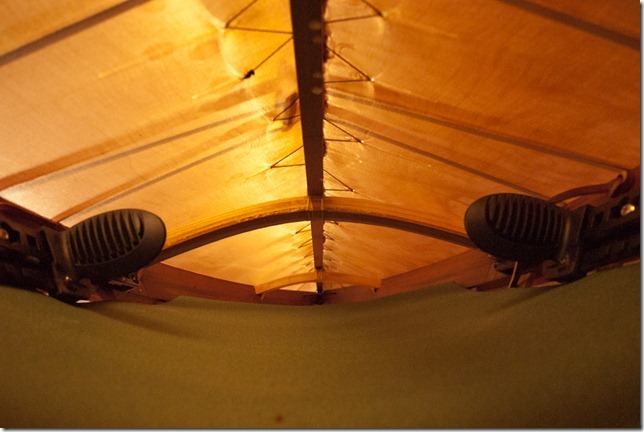
Day 6 was our last day in the workshop and was a short day to equip our boat for use. We added deck lines, installed a back band, foam paddling to sit on, and put the foot pedals on their tracks. The deck lashings are made of leather and took the most time.
Sadly I forgot to take my camera into class on Day 6, so I just have photos of the final product:
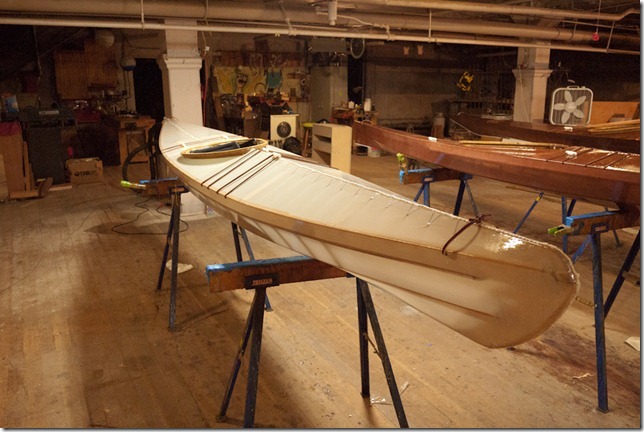
David didn’t stain his boat, so it came out in a translucent white. It will yellow slightly with age.
Day 7
All that we had to do on day 7 was take the boats out for a quick paddle.My boat and Maxine’s boat next to each other, ready to go. You can also see the paddle that I made attached to my boat.
Note: Brian provides much nicer looking back bands than the ugly blue and grey one that I used. I just chose to recycle on that I already had rather than buying a new one.
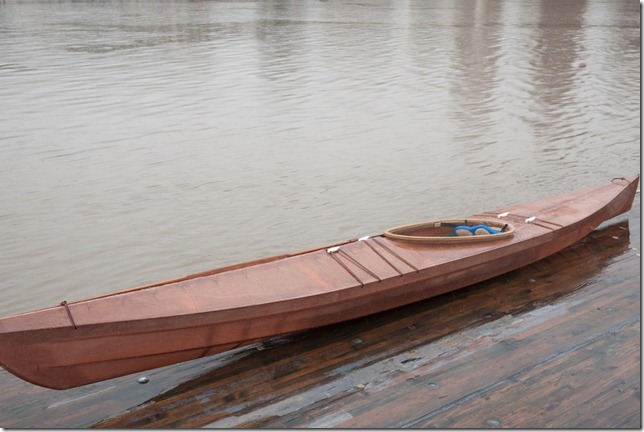
My boat about ready to go into the water.
Brian showed us some techniques for using the Greenland-style paddle in Steve’s Greenland-style boat.
Conclusion
I really enjoyed the class. I’ve only had time to take the kayak out for one brief paddle so far, but it handled very well and I love the light weight of the boat. It is about half the weight of my fiberglass kayak.
If I build another one of these (say for Christine) I know that I could do it on my own time, but I’d be tempted to take the class again. It was fun working on the project with other builders and Brian’s experience and techniques allowed us to finish the build quickly without taking short cuts.
Full photo set is on my Smugmug Account: http://alexandchristine.smugmug.com/Kayaking/Building-the-Cape-Falcon-F1/16109665_PRQ3Q
